Godot Engine - Simple Animation and instancing a Scene in another Scene

Getting basic animations into Godot Engine is simple and a joy. It is stupidly straight forward.

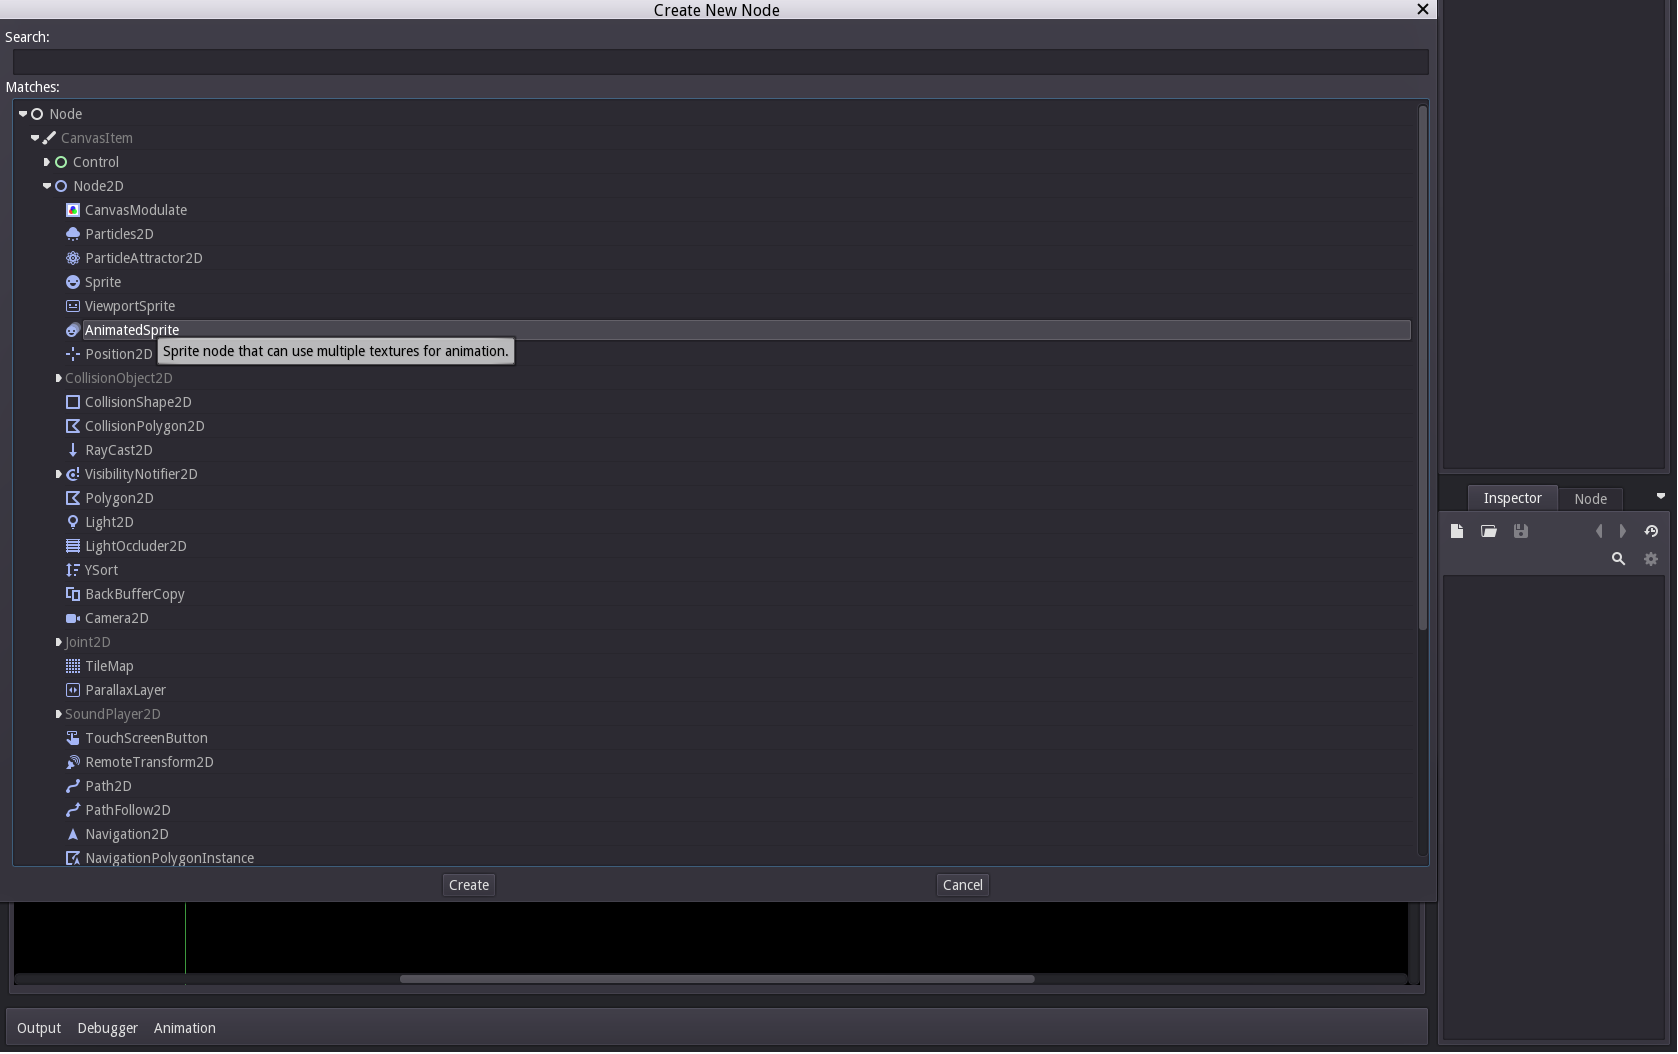
So first off create a new scene and add an AnimatedSprite node. If you can’t find it, just do a search:
.

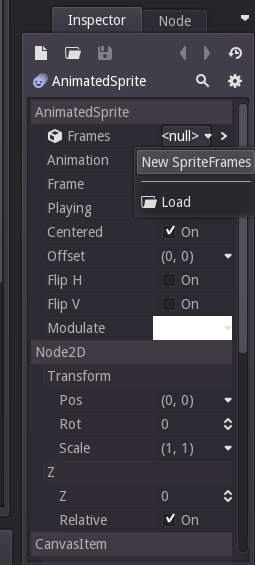
On the right hand-side where the inspector is you’ll see “Frames ”, click it and select New SpriteFrames.
.

This should open up an animation panel at the bottom. First though you need import your Sprites/images. Importing them as Textures is not required but unless you do, the images will be filtered. If you’re doing pixel art, then you’ll want to import them like so:
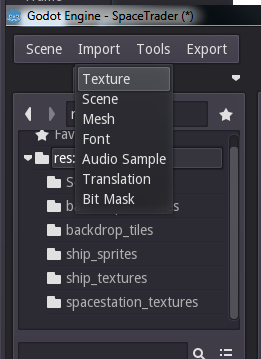
.

You’ll then be greeted with this popup:
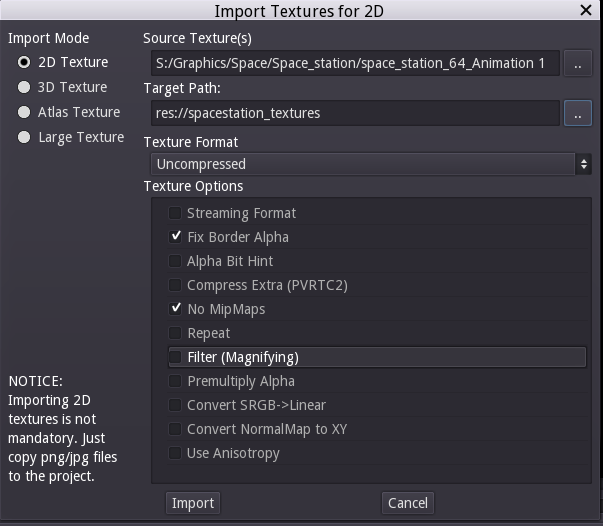
.

Make sure you select 2D Texture and make sure to disable “Filter (Magnifying)”. Leave the rest as is. If you want, create a new folder to write the Textures to, but having them in the root of your res:// is fine too.

Once this is done, simply select and drag the textures from the FileSystem browser into the Animation Frame at the bottom of the screen:
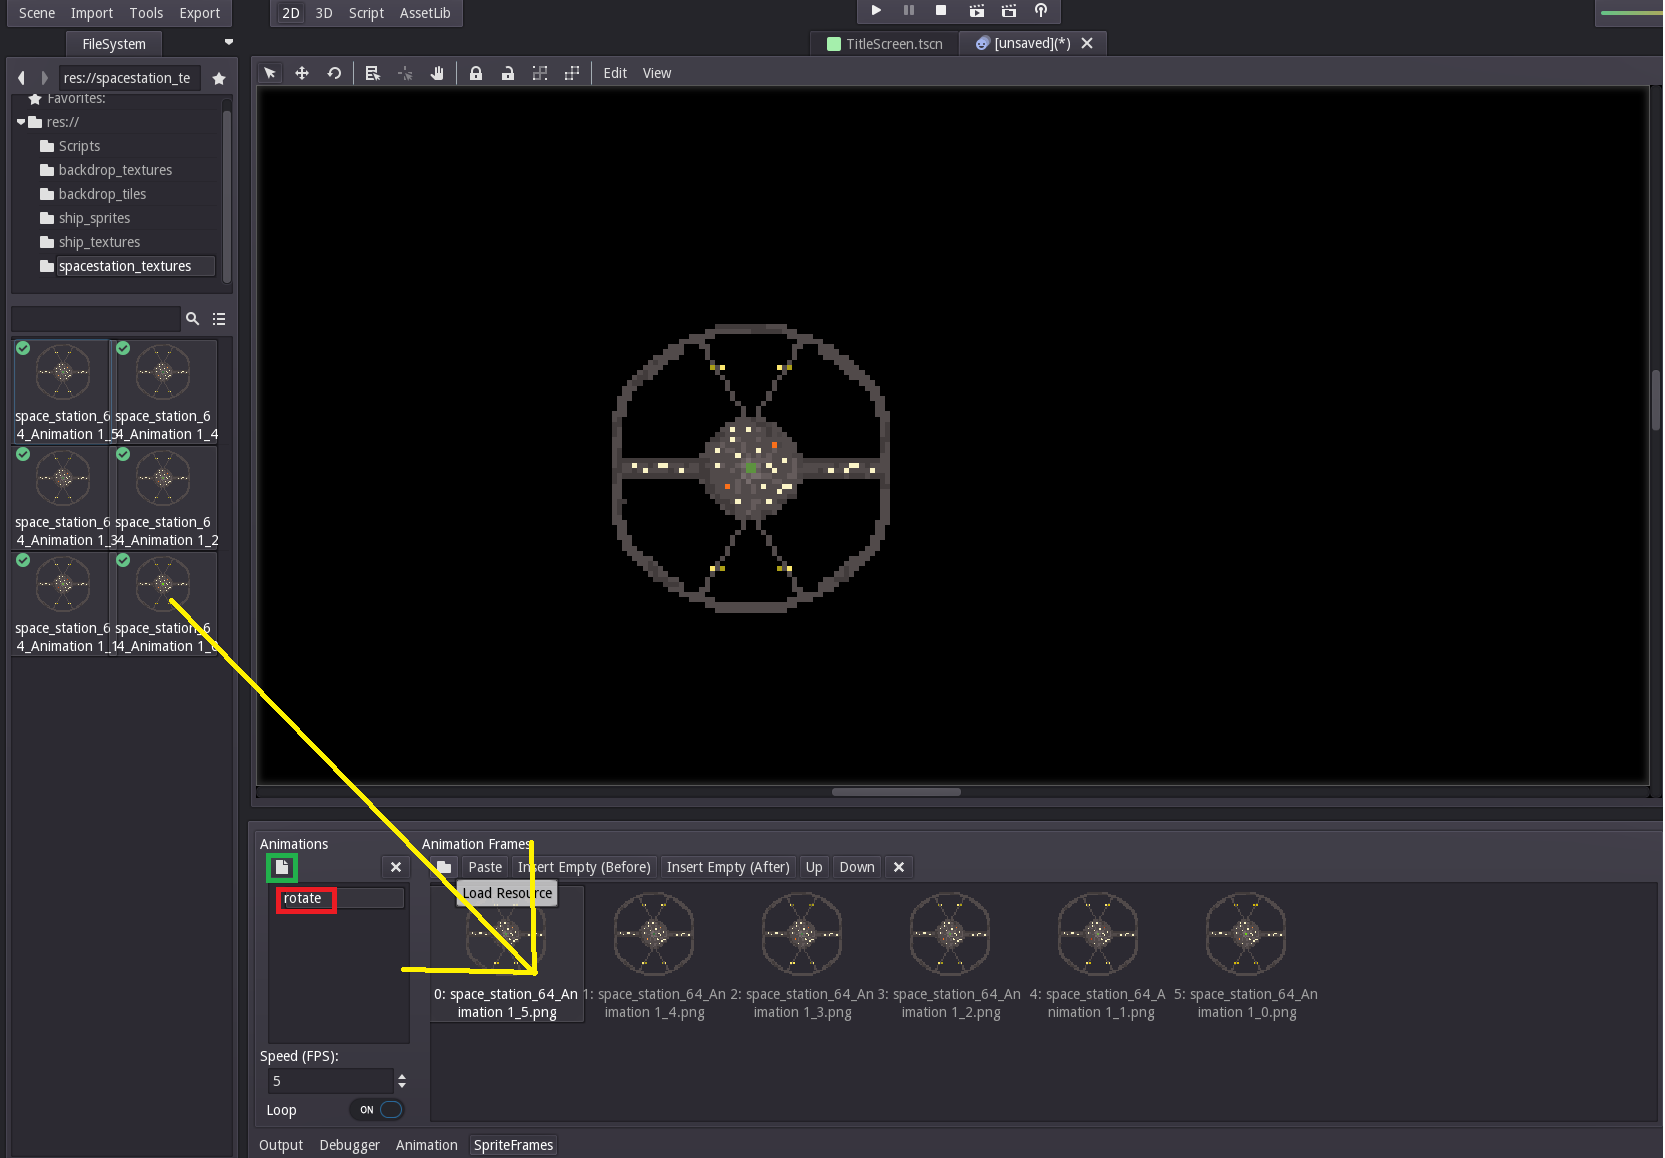
.

The image above shows that they will be part of an animation called “rotate”(red). You can create more animations by simply clicking the paper icon below animations (green). The name given in the red box is how you can refer to different animations in your scripts.

So now that the new animated node/scene has been created its just a matter of putting it into the main game scene. To do this, simply navigate back to the scene in which you want to put your new animated sprite/node/scene:
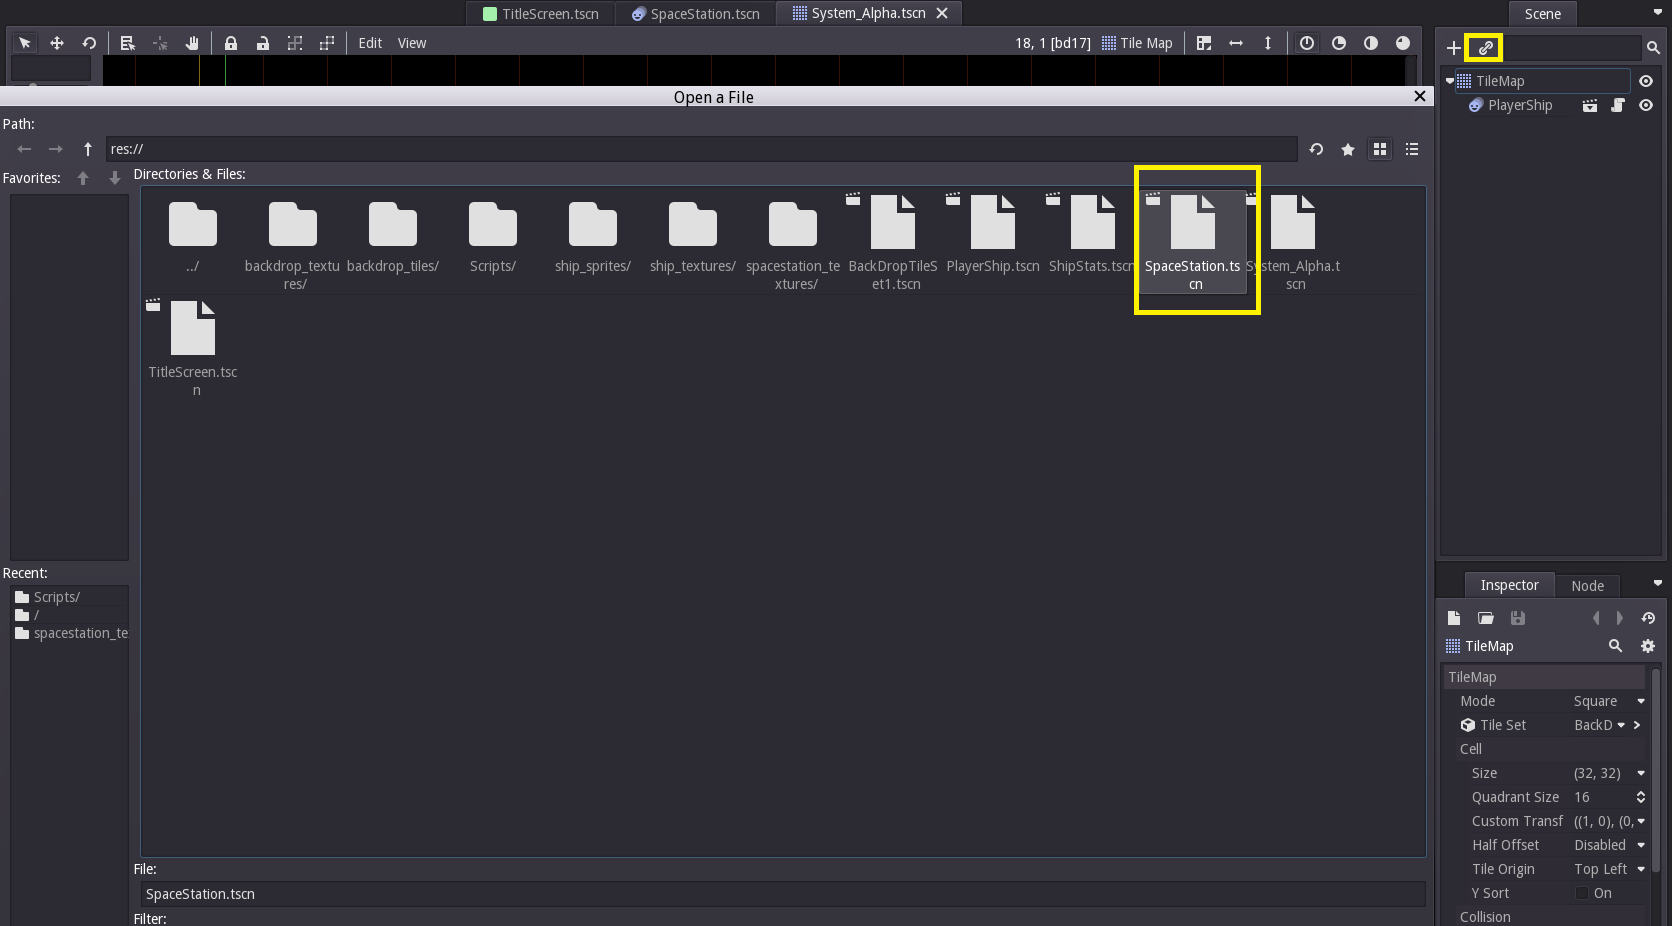
.

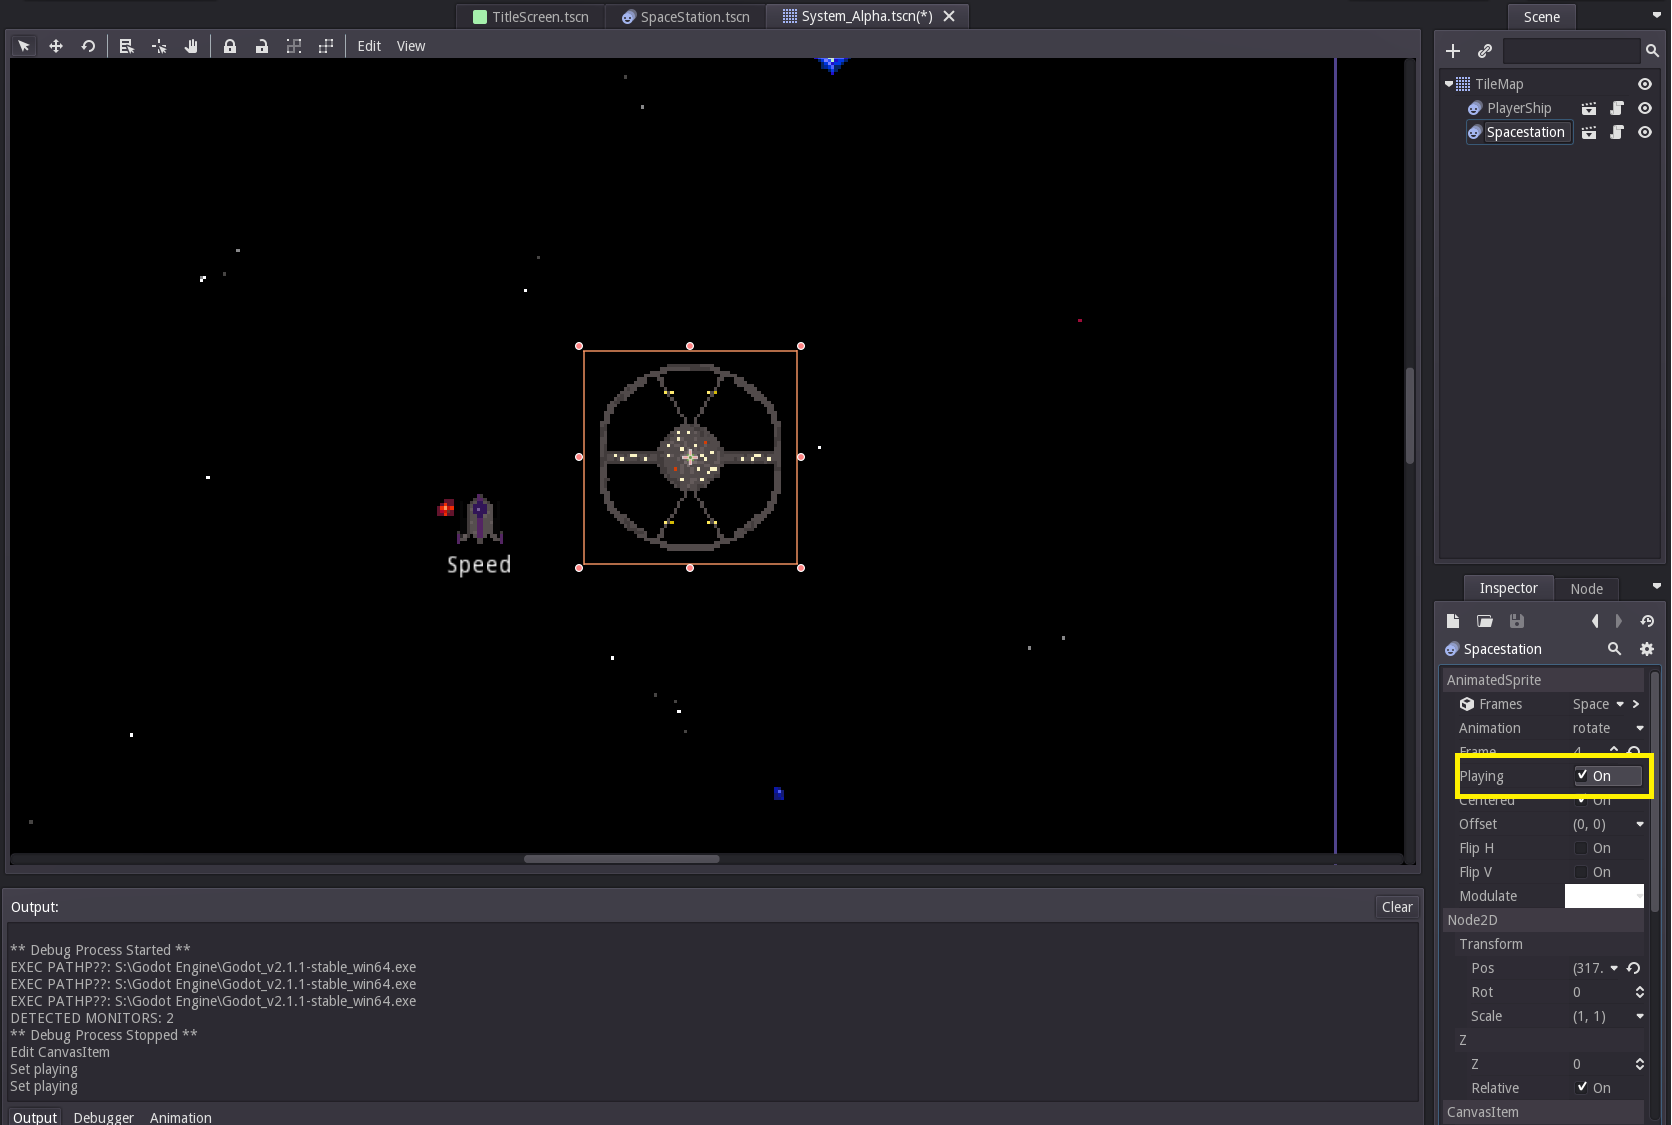
Clicking on the exisiting node you want to parent the instance node to, then click the icon highlighted in yellow in the scene tab. Select the scene and press okay.
.

The newly animated scene has now been instanced in the level with the player object. The yellow box shows where you can toggle the playing of the animation in the scene view.
Godot Engine - Parameterised Instancing

One thing that became very obvious upon moving past basic game ideas was that creating instances of objects with certain parameters was not an obvious thing to do. In standard OO programming, you have a constructor and create your new object with the parameters you do or don’t specify.

In my game, I wanted to have a means of storing basic ship stats such as speed, weight etc. but finding how to do this without creating a node/script for every single ship type was putting me off using Godot.

In essence its rather easy, the Autoload demo (here) shows you how in instancing the scene.

.

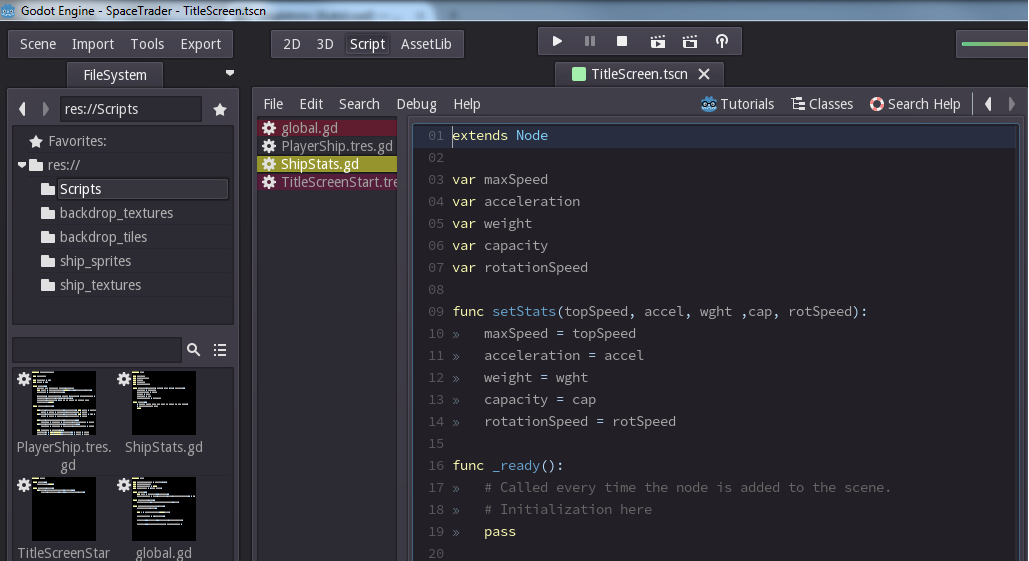
Simply create a function to set the parameters you require in a script. In this case I wanted the player to hold the stats of their ship on their object/script.

  1. Create script with desired functions and data members
  2. Create a scene with a Node and attach the script to the node
  3. In the script where you want to hold the new type as a member create, a var to hold it
  4. In the _ready() function, load an instance of the scene containing your script and assign it to the member.

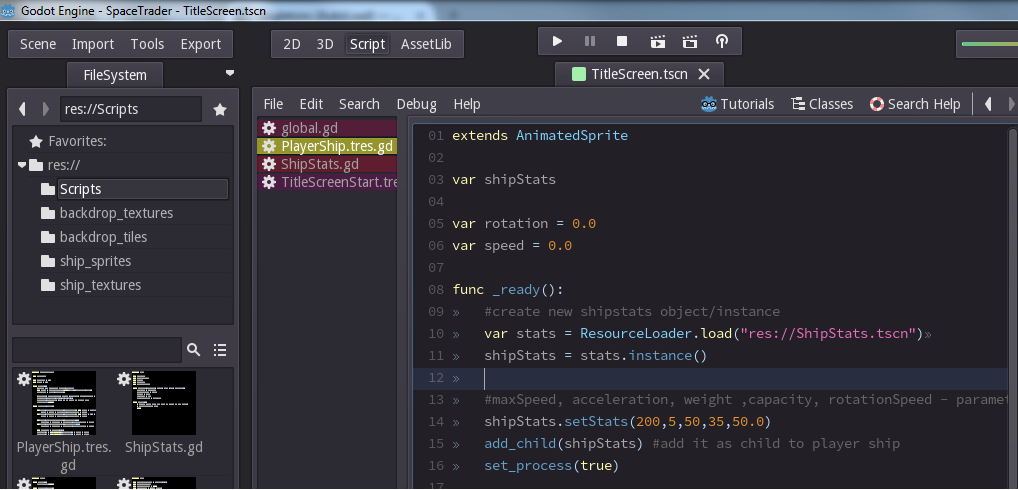
Here is another image of the Player’s script to better demonstrate:

.

As can be seen, the ResourceLoader loads the scene with the attached script to a local variable. This is then instanced ( using the “instance()” function) to the Player’s member “shipStats”. “setStats()” is then called to set the values of the shipStats. Finally this instance is added as a child to the player Node.

The shipStats is held as a var for convienience. This is not required. It simply means it can be retrieved without having to go through the process of calling “get_child(child number)” when needing to reference it (as there could be a lot of child nodes).

For the standard use of instancing, eg putting the Player scene in a level scene, check the official docs (reference here)

Godot Engine - Autoload

One of the things that had me scratching my head about Godot was sharing information easily between scenes. For example, if the player is in one scene (the overworld) and wants to move inside a building, I still want to retain the player’s stats, inventory etc.

One easy way to do this is with a global script – Singleton.

.

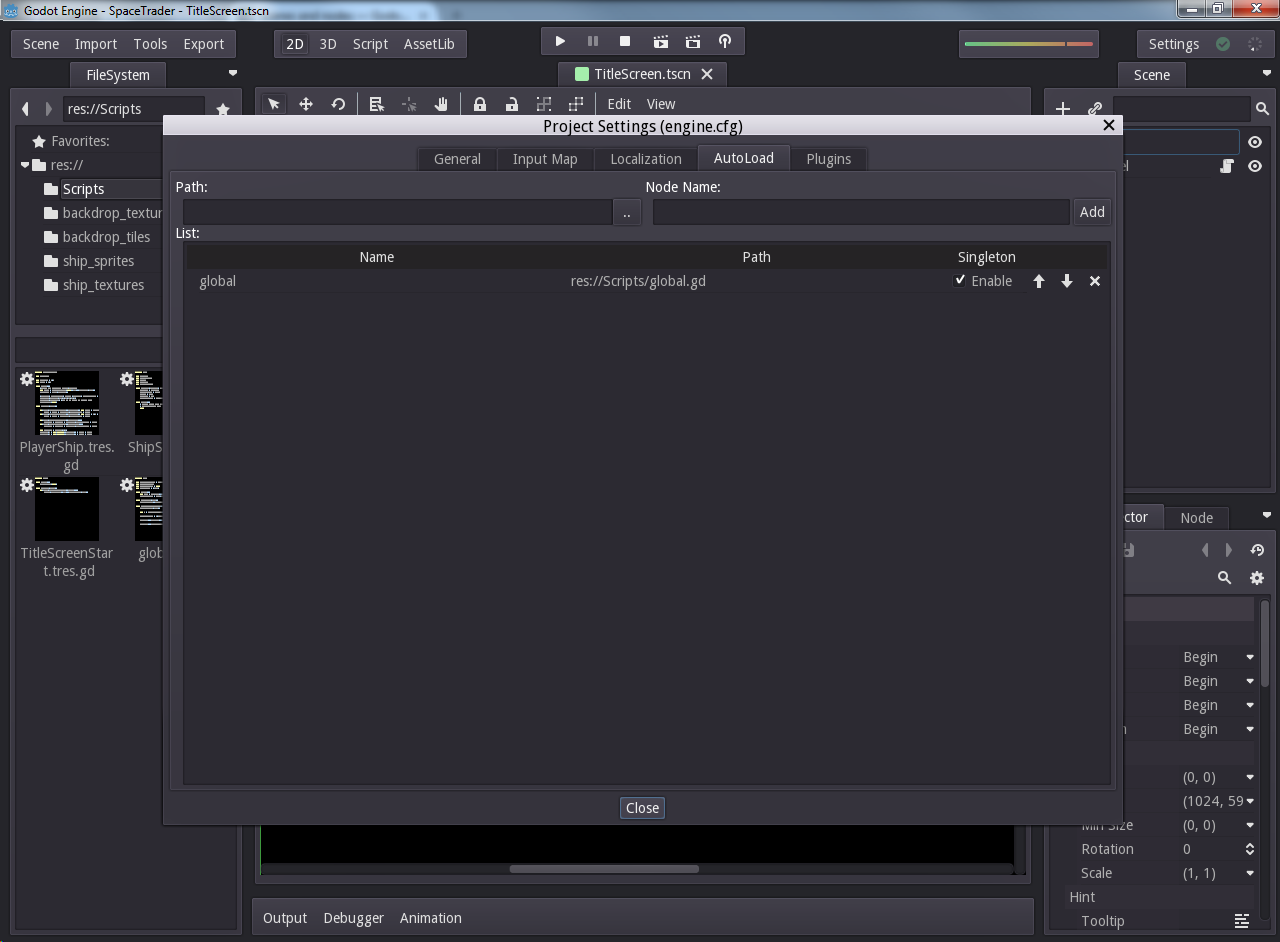
Create a script that extends from Node, call it global(or whatever you want) and add it to the AutoLoad screen in Project Settings. On startup of your game, this script will be loaded. This is especially useful for changing scenes without need of some larger overarching scene in the game.

.

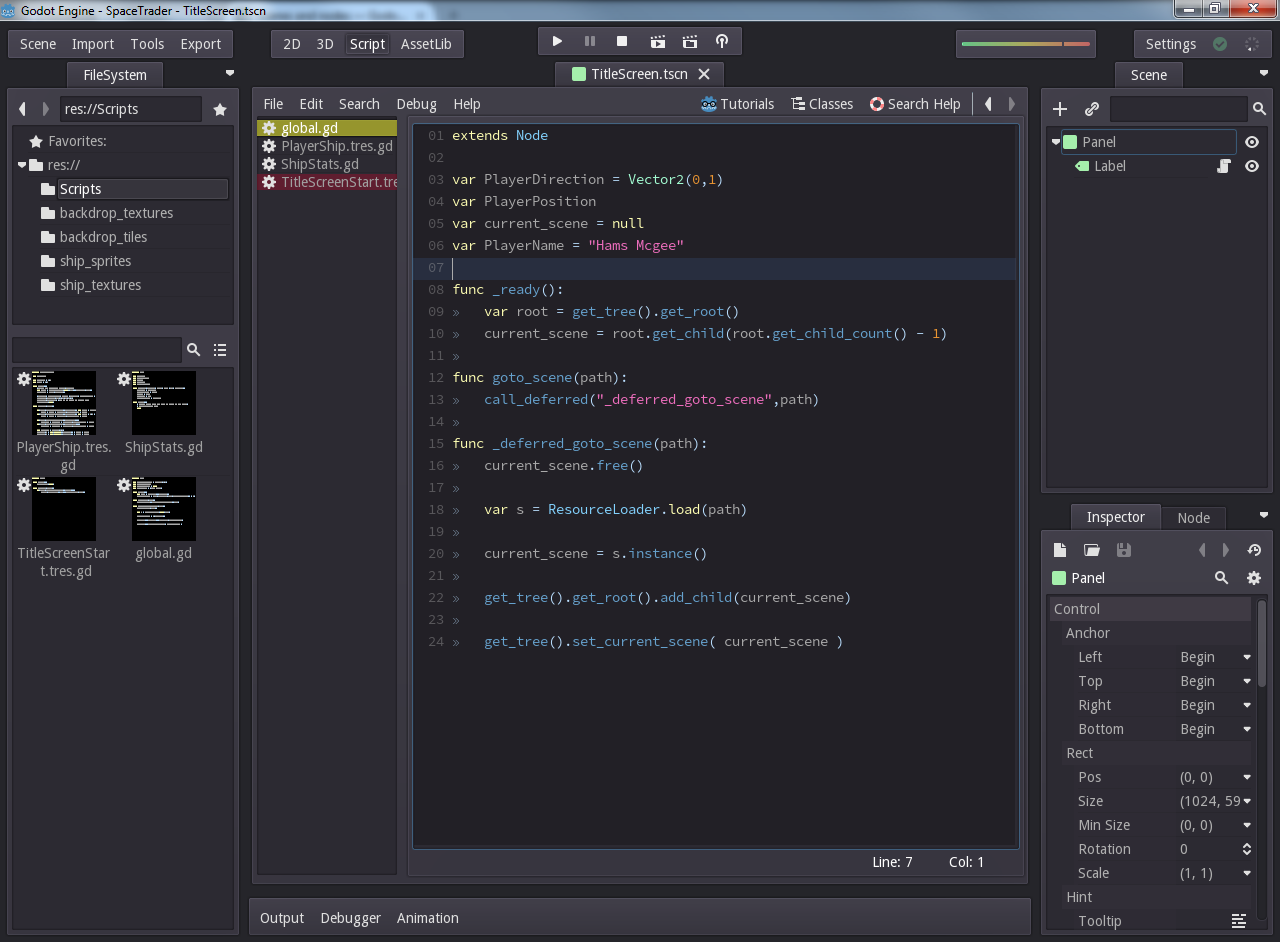
The above image shows an example global script along with the means to switching between scenes. (official reference). Essentially, these functions to change scene can be accessed from any node. So for a title screen, you can attach a script to a node to call “goto_scene” to switch to your first level scene. It also is executed in a way that will wait for any processing on the current scene to finish before destroying and then loading the new, desired scene.

All the member variables will also be accssable, ie “PlayerDirection”